React part 3
Today we talk about using Multiple Components and some small styling aspects.
multiple components: In react, everything is structured like a “tree”. (At least that's how I think of it) It's like an upside-down tree, and the root component, is well, the root of the tree.
They usually call the App.js the Root Component. This is where everything gets nested for structure. The rule of thumb is your try to keep this as clean as possible. So the navbar, header, content, and footer usually are in the root component. Not the actual logic, its just a “pointer” towards those components. Then from, say, the navbar, we have components coming from there like, logo, nav links, or collapsible sidebar, etc.…Remember, all components are functions, which return a JSX template, and that function is then exported at the bottom of that file. (basically, root then functions that attach to that root component.)
If you have just clicked on this, This information might be out of context, or you might learn something new. There is a link down below to start from the beginning.
So let's make a new file under src called “Navbar.js” component (make sure its capital, or it will yell at you)

Then we type in “sfc” if you have React-Native Snippets downloaded (you can find in vscode). It which will spawn an auto-fill feature for templates that will make your life easier….(and, if you want to be really lazy, just put “rafce”).
You can get it in vscode, and it is a extension called ES7 React/Redux/GraphQL/React-Native snippets
after you type that in, It should look like this:

You will need to fill in some other stuff as well, which just copy down below:

Here in this Navbar component, we added the name “Navbar” on lines 1 and line 15, so we can export it to other components later on(kinda important when doing any component).
Next, we make an HTML tag called “nav”, which also gets the className of the “navbar” for styling reasons later. After that, we put an “h1” tag with the blog's name. Then we create another div with the classname of “links,” once again that's for styling for later.
You slap in two “a” tags with the href with the value of “/”, which will take you to your home page later on. The “/create” will direct you to a new blog section, also. Later on, when we make the router dom, we will implement this more.
I want to make clear what just happened, we just made a component so we can implement it into any part of our project. So now we can take that navbar component and place it anywhere in our code and it will display everything we wrote in the navbar component, which we will see right now
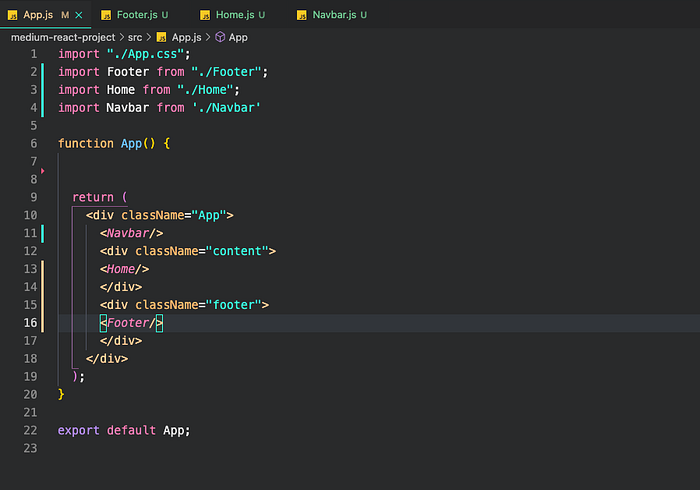
Now we hop on over to the app.js:

(If you were following along before, I did clean up all the info from the last post, so delete all that and keep the two components with the class name of “App” and “Content.”)
Basically you have two sections, one for the navbar, and one for the content, Easy!
We need to import the new “Navbar” component we just made on the top, so check out, line 2. Then, on line 9, we can put that component anywhere you want on your site, for now we put it on the top. (placement is important here because it will justify where your content will go, keep that in mind.)
Then for starters, inside the “div” with the “classname” of “content”, we simply put an “h1” with the text “app component.”
Run The web browser, type in “npm start” in terminal, it should look like this:
Now let's create a new component “home.js” file inside our “SRC” folder since we don't want to put our content straight into the “app.js”(its bad practice to put a bunch of code in the root folder.)
From there, we type “rafce” and should look like this:
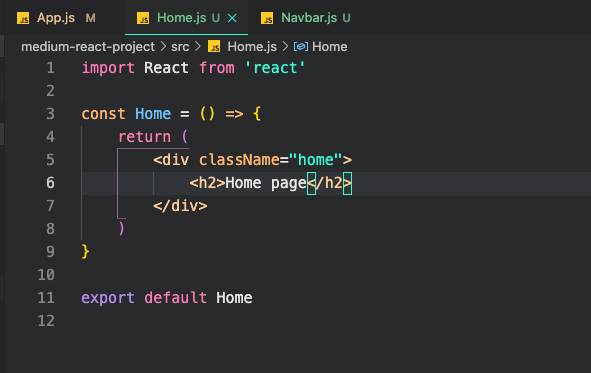
All we did was make a div with a classname of “home” then put an “h2” tag with text “home page” we made this component so we don't hard code it inside the app.js.
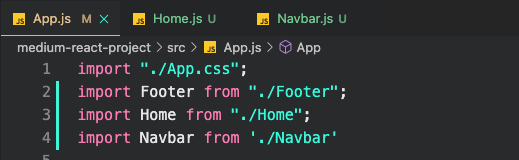
Now hop over to “app.js” and import “Home.js”(what we just made) in the div with the “classname” of “content” like so:

Don't forget to import from the top.
Now to drive this whole thing home, we will put a footer on this, so you see it come together. Let's create the footer:
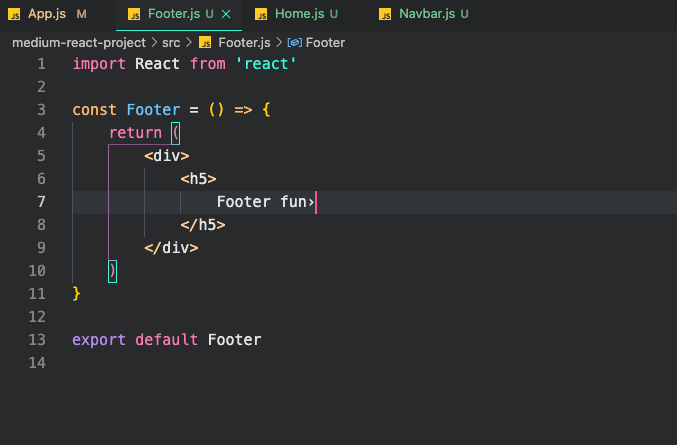
We simply spun up a quick “footer.js” inside the “src” folder then import it into the app.js
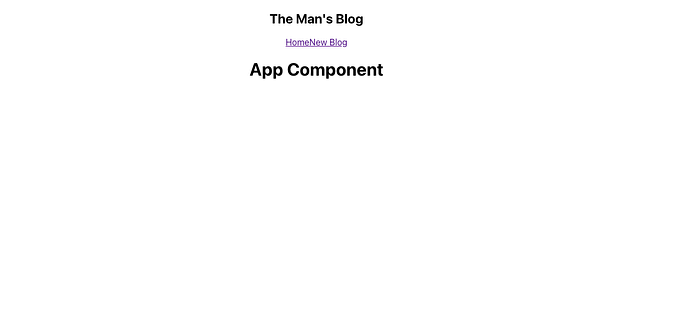
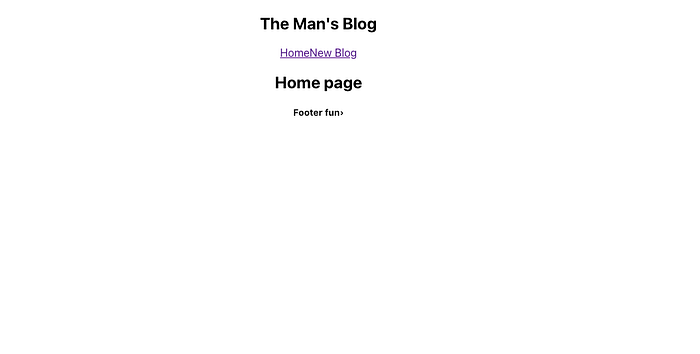
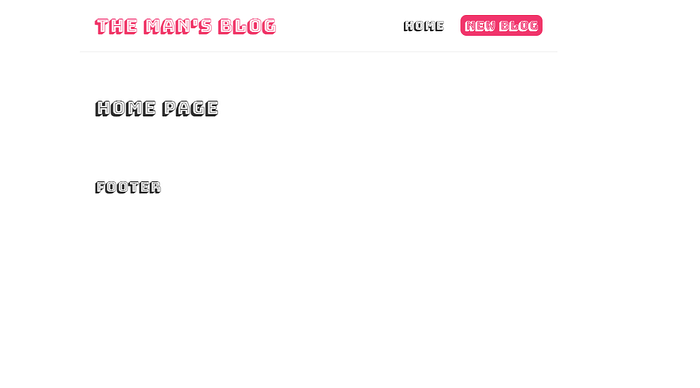
Now, we see we made it into a whole site. We have a top “Navbar”, a middle “Home”, and a bottom “Footer”. It all has its own little section; So if someone would look at your code they know where everything is. This is showing you that multiple components and that “upside-down tree.” that i mentioned. Then from there, each component will have sub-components and so on.
It should all look like this on the web browser.
very simple styling component/outline:
So if you look inside your “app.js” component you would see on line 1 “import “./App.css” this is a separate file that you add CSS. It's so it doesn't muddy up your code and root folder.
In our app.css file, it should look like this, it's simple boilerplate CSS that's gets added to the site from spinning up a new react project.

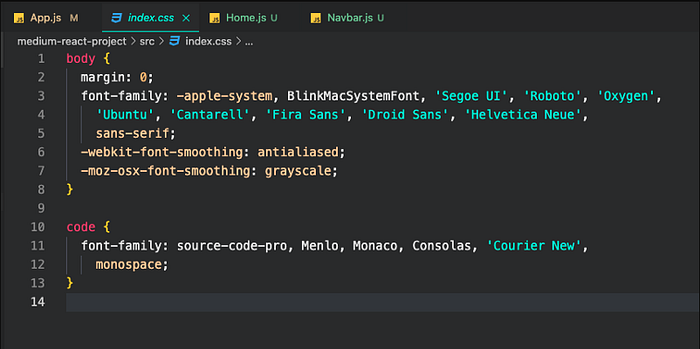
we also have an “index.css” in our src folder, that would be like a global styling sheet, and if you implemented anything in there, it would show on every single page. Now delete the App.css file; we don't need it. Don't forget to delete it from the top of “app.js” file as well, line 1. (it will yell at you if you don't delete the import)
We will only be using the index.css:
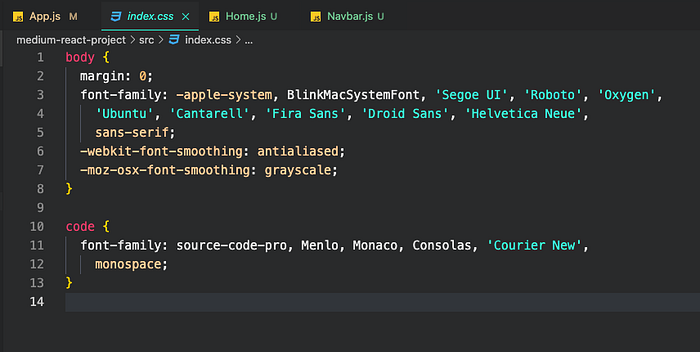
Now delete all the content inside of the index CSS file as well(you can name or use whatever CSS file name you want).
Now, we added a font from google fonts, as well as a bunch of CSS, so go here to get all the CSS I used.
I want to also mention to check the index .js, that it has the import “./index.css” on the top of the file or it will break!
A lot of the time you will see in code the *{} that means “ALL/everything”,
All the other tags with a period “.” in front of it means “class” which we set individual names in the app.js with the name “classname”. You can find out more/better detail on CSS here.
We can also do inline styling (it's frowned upon, but sometimes you want to see something quick and dirty.)
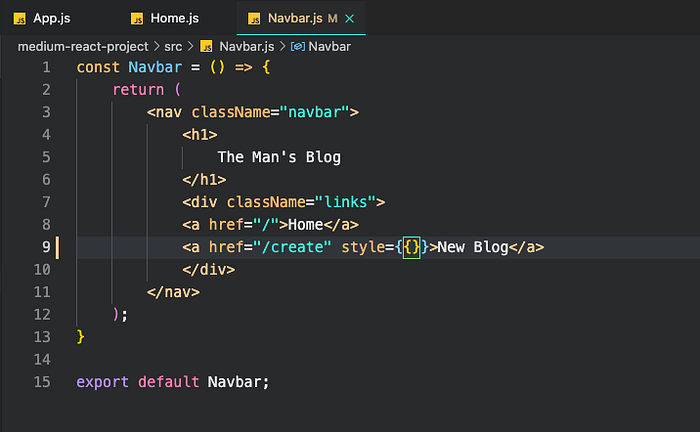
Do you see the style tag in the “A” tag line 9? We can put inline styling right into our code there, or in most of the HTML tags. The value of this “style” is an object, so we have to put double {} inside a {}. which we use a key and value pair, look below:

here we put in color(which changes the color of the text), then background Color( which changes the background color), and some borderRadius(that smoothes out the sides, so it rounds the corners)
I also wanted to mention that when you use inline styling you have to make it camel case, or it won't work. Also, the value needs to be in quotations as a string, or it won't work as well.
It should all look like this in the browser:
Ok great that's it, That last part was a very fast and dirty way of styling, and I will be making a better series on HTML/CSS. Link will be down below.
Also delete that in line styling as I wont be keeping it for the next section.
check out some javascript….
Javascript 1 (variables and data types)
Javascript 2 (numbers and strings)
Javascript 3 (bracket notation and 20 diff string methods)
Javascript 4 (functions and how they work)
Javascript 5 (hoisting, comparison operators, and if-else statements)
Javascript 6 (diff. Equal signs, null, and undefined)
Javascript 7 (logical operator, &&, || and ternary operators)
Javascript 8 (switch statements and arrays)
Javascript 9 (10 commonly used arrays in javascript)
Javascript 10 (8 different Math. methods And parseInt Usage)
Javascript 11 (for loops and nested for loops)
Javascript 12(while loops and for..in and for..of loops)
Javascript 13(8 diff array methods)
Javascript 14(objects and ways to use objects)
Javascript 15(JSON and fetch request)
Javascript 17(strict mode and error handling)
Javascript 18(setInterval/setTimeout and Dates)
React info…
React part 1 (How to start a react app)
React part 2 (components and dynamic values)
React part 3 (Multiple components and small styling)
React part 4 (click events with functions and react dev tools)
React part 5 (link to: useState hook and how to output lists in react)
React part 6 (Props and reusable components)
React part 7 (passing functions as props and use effect hook)
React part 9 (Fetching data with JSON)
React part 10 (loading bar and fetch errors)
React part 12(React Router Dom, Exact, and Links)
The Social Media…
